
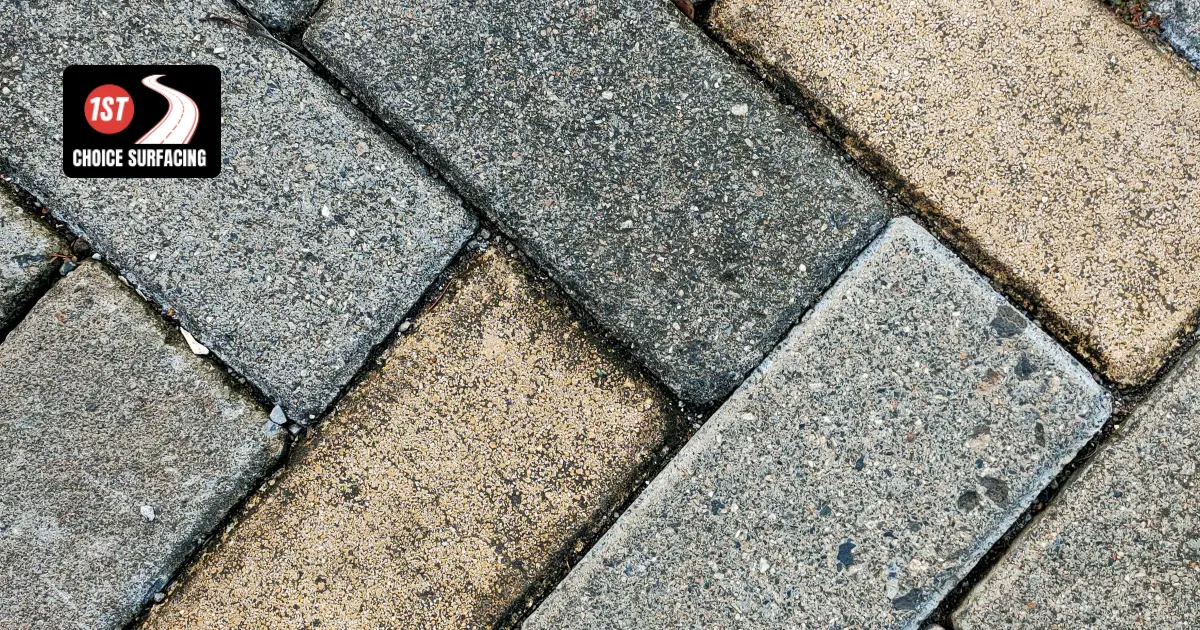
A block paving driveway looks like a simple jigsaw, but what makes it last is buried underneath. Across West Yorkshire, where clay soils, heavy rain and winter frost put surfaces under real pressure, the order of work matters as much as the blocks themselves. This guide covers the complete block paving installation process in the sequence a professional block paving contractor follows, so you know exactly what a quality job looks like.
Block Paving Installation at a Glance
- Excavate and set levels
- Lay the sub-base
- Compact the sub-base
- Fix edge restraints
- Screed the laying course
- Lay blocks in your chosen pattern
- Cut blocks to fit
- Sweep in jointing sand and compact
Step 1: Excavation and Setting Out
Pegs and string lines mark the finished level, with a gentle fall of roughly 1:60 to 1:40 so rainwater drains away from the property. Then the old surface comes out. For a driveway, dig around 200–250mm below finished level; patios and paths need about 150–200mm. Remove soft spots and lay geotextile membrane over weak or clay-heavy ground, which is common around Leeds and Bradford. Front gardens over 5m² need permeable paving or a drainage route to a lawn or border.
Step 2: Sub-Base Preparation
The sub-base carries the load, so cutting corners here shows up as ruts later. Use MOT Type 1, a crushed, graded stone, spread to roughly 100–150mm for a domestic driveway and deeper for heavy vehicles or commercial car parks. Rake it level to your fall, keeping the thickness uniform across the whole area.
Step 3: Compacting the Sub-Base
Compact the stone in layers no thicker than 75–100mm using a vibrating plate compactor. Make several passes in both directions until the surface stops moving and the plate leaves no marks. Lightly misting the stone helps it bind. Rushing this stage is the main reason driveways sink under wheel tracks within the first year.
Step 4: Fixing Edge Restraints
Kerbs or edging blocks sit on a concrete bed with haunching behind them, stopping the paving from spreading sideways under tyres. Check heights against your string line, then let the concrete cure fully before heavy compaction nearby. Strong edging keeps the whole block paving driveway locked together over the long term.
Step 5: Screeding the Laying Course
Spread 30–50mm of sharp sand (also called grit sand) and screed it flat between two levelled rails using a straightedge. Pull the rails out and fill the channels with loose sand. Never compact the bedding sand before the blocks go down, and never walk on it. Work from boards so you don’t disturb the screeded surface.
Step 6: Block Paving Patterns and Laying
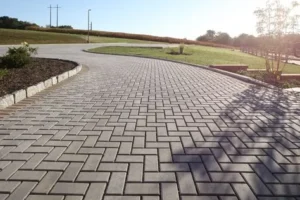
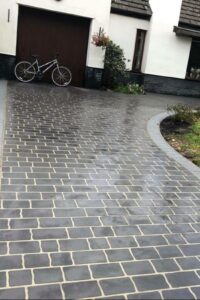
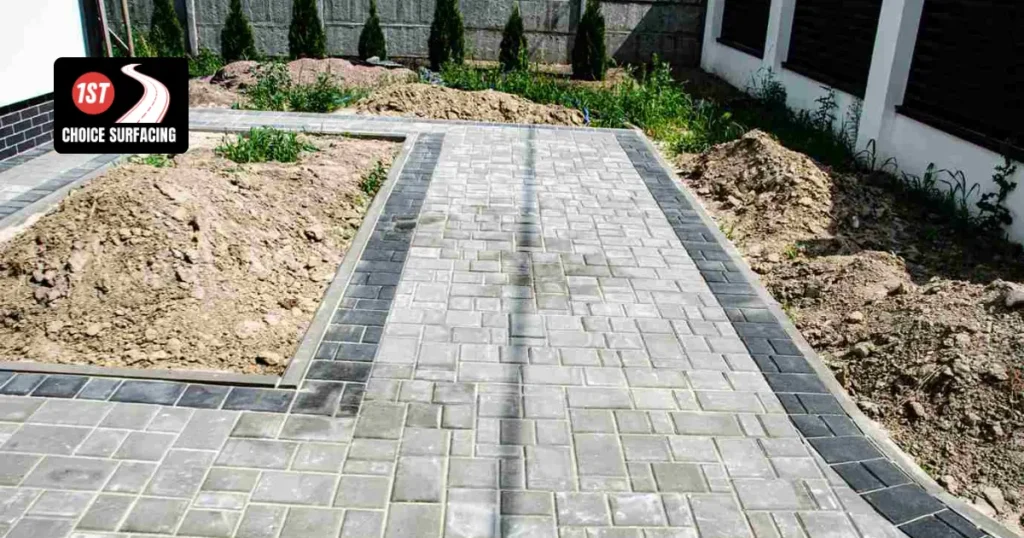
Start at a fixed, straight edge, ideally the lowest point, and lay blocks tight with 2–5mm joints, setting each one down rather than dragging it through the sand. Herringbone, at 45 or 90 degrees, is the strongest choice for driveways because the interlock resists braking and turning. Stretcher (running) bond suits paths, while basket weave works well on patios. Mix blocks from several packs to avoid colour banding, and check string lines every few rows.
Step 7: Cutting Blocks
Cuts are needed at edges, curves and around drain covers. Use a hydraulic block splitter, or a disc cutter with dust suppression and a mask, as cutting concrete releases silica dust. Avoid cut pieces smaller than a third of a block, as they can work loose. Finish all cutting and fill the edge courses before final compaction.
Step 8: Jointing Sand and Final Compaction
Sweep kiln-dried jointing sand across the dry surface until every joint is full. Run the plate compactor over it in two directions, fitted with a rubber or polyurethane pad to protect the block faces. This vibrates the blocks into the bedding layer and drives sand deep into the joints. Sweep on more sand, compact again, and repeat until the joints stay full. Leave a light layer of surplus sand for a few days, then brush it off. Sealing is optional and comes later, once the paving has settled.
How Long Does Block Paving Installation Take?
A typical domestic driveway takes around three to five working days, depending on size, access and ground conditions. Rain can pause jointing and compaction because the sand must be dry, so a good contractor schedules around the forecast.
DIY or Professional Block Paving Installation in West Yorkshire?
DIY is realistic for a small patio, but driveways bring heavy loads, drainage planning and hired machinery. Ground conditions across Leeds, Bradford, Wakefield, Huddersfield and Halifax range from clay to made ground, which changes the excavation depth and sub-base specification. Our block paving contractors in Leeds and Bradford handle the full installation sequence for commercial areas, driveways, and patios. Looking for the quick dos and don’ts? Read our guide on how to lay block paving.
Conclusion
A long-lasting block paving installation comes down to getting the hidden stages right: proper excavation, a well-compacted MOT Type 1 sub-base, a loose sand laying course, accurate cutting, and thorough jointing and final compaction. At 1st Choice Surfacing, we provide professional block paving installation across West Yorkshire, including Leeds, Bradford and Pudsey. Our team handles every stage from start to finish, so your surface stays level, stable and strong.
Block Paving Installation FAQs
How deep should you dig for block paving?
Around 200–250mm for driveways and 150–200mm for patios, allowing for sub-base, bedding sand and the block itself.
Should you compact bedding sand before laying blocks?
No. Leave it loose, lay the blocks, then compact the whole surface so they bed in evenly.
What is the best block paving pattern for a driveway?
Herringbone, because it interlocks and spreads vehicle loads better than stretcher bond.
Planning block paving in West Yorkshire?
Call 1st Choice Surfacing on 01132549638 or request a free consultation and quote today.